https://dev.to/rutamhere/deploying-docsgpt-on-digitalocean-droplet-50ea
Deploying DocsGPT
Now you need to follow the steps given below to successfully deploy DocsGPT on your cloud instance.
Step 1: Clone the DocsGPT repository to your instance. Use the command given below to do so.
git clone https://github.com/arc53/DocsGPT.git

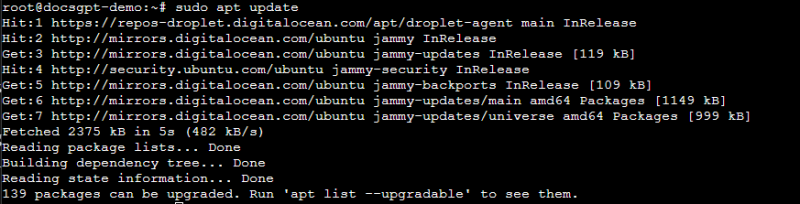
Step 2: Update the package indexes of your Ubuntu system with the command given below.
sudo apt update
Step 3: DocsGPT needs containerization tools like docker and docker-compose to run. You can install them with the commands given below. Press Y when prompted to proceed with the installation.
sudo apt install docker docker-compose

Step 4: The .env variables for DocsGPT need to be set. You can do so by going to the DocsGPT folder and adding a .env file.
cd DocsGPT/

nano .env

Save the following values in the .env file.
LLM_NAME=DocsGPT-7b (You can choose any available LLM under DocsGPT)
API_KEY= <Your OpenAI API key>
VITE_API_STREAMING= true
You can exit the Nano editor by using Ctrl + X and then hitting Y followed by Enter.
Step 5: DocsGPT's front end needs to connect and communicate with its backend properly for its work. To do this, you need to edit the docker-compose.yaml file so that it points to the correct IP address of the backend. Use the command below to edit the file.
nano docker-compose.yaml
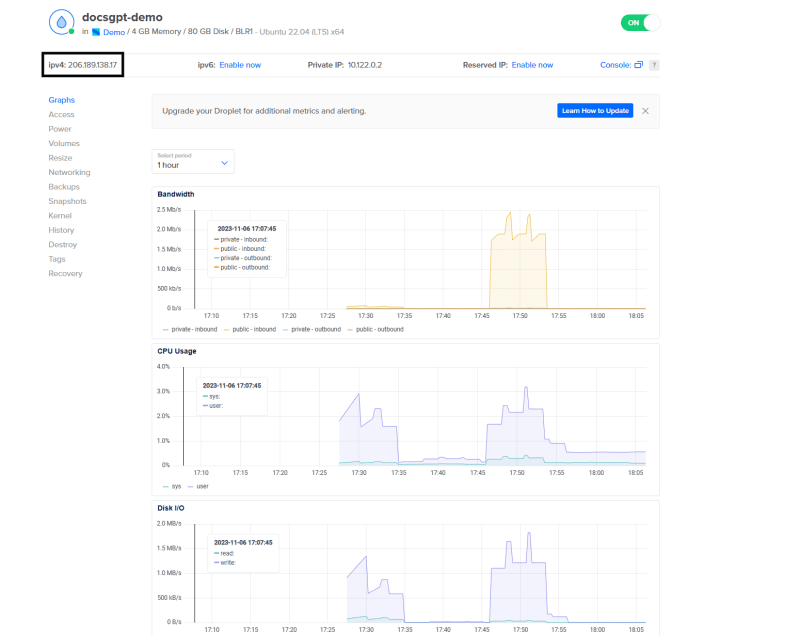
Find Line 7 in the editor and edit the VITE_API_HOST parameter. It should use the public IPv4 of your Droplet.
VITE_API_HOST=http://<Droplet Public IPv4>:7091
You can find the Publiv IPv4 of the Droplet on the Droplet details page.
Now save the changes and exit the editor.
Step 6: You are now ready to run DocsGPT on your Droplet with the command given below. Remember that the initial startup time will be a bit longer as it requires downloading all the necessary dependencies and then building the app.
sudo docker-compose up -d
Once you see the done status of a list of DocsGPT jobs in the terminal, you're good to work with it on your Droplet.

Working with DocsGPT
You can now access DocsGPT by visiting the following URL.
http://<Public Droplet IPv4:5173>
When you open this URL for the first time, you will need to choose a source documentation. Select default and click on Save to test the deployment.

You can now ask generic questions about DocsGPT and it will provide you with the relevant answers.
You: What is DocsGPT?

DocsGPT: DocsGPT is an AI-powered language model developed using OpenAI's GPT (Generative Pre-trained Transformer) architecture. It is designed specifically to assist users in composing and editing documents. DocsGPT can help generate text in various formats, such as essays, code snippets, technical documentation, and more. It understands natural language commands and provides informative responses to user queries. Through its conversational interface, DocsGPT can assist with a wide range of document-related tasks, including content generation, formatting, organization, and more.
Your DocsGPT deployment is now ready to help you with any technical documentation needs.
Conclusion
DocsGPT can be a great asset to save time by eliminating the need to manually search across docs to seek answers. The team behind this is working continuously to bring more features and upgrade the user experience. You also have the option to try their cloud version directly if you don't wish to host it by yourself.
The community is always welcome to try it out and provide their valuable feedback or suggest additional features by joining their Discord.
Lastly, before you leave, feel free to drop a Like if you loved reading this article, and don't forget to share it with your peers.
Comments
Post a Comment