
Solution for a valid Migration mailbox could not be found for this organization
To address this issue, we will:
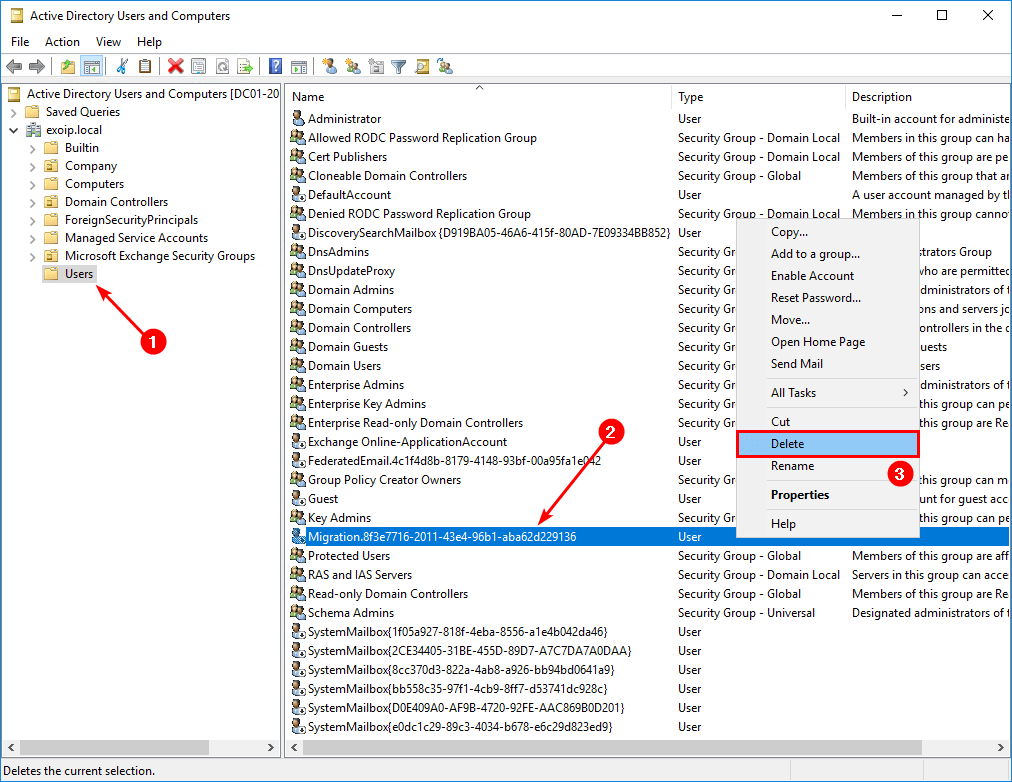
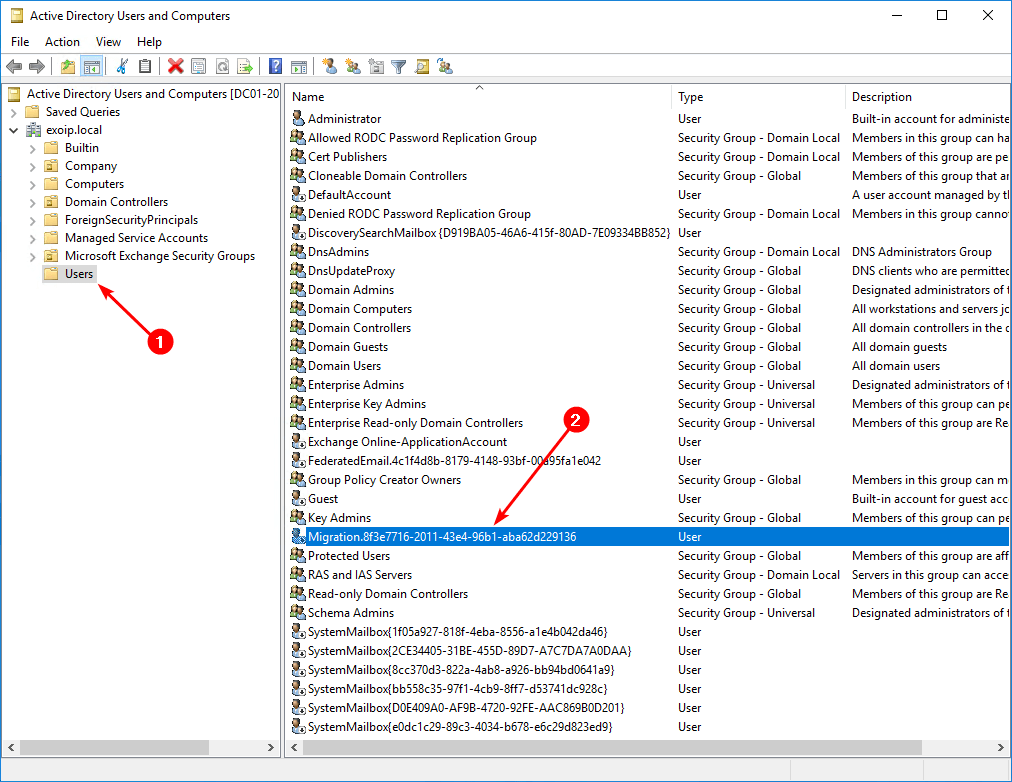
- Delete Migration mailbox in Active Directory Users and Computers
- Recreate Migration mailbox with /PrepareAD command
- Enable Migration mailbox with Exchange Management Shell
1. Delete Migration mailbox in Active Directory Users and Computers
We do see the mailbox in ADUC, let’s remove it. If you don’t see it, search for it. It might be in a different container than the default container Users.
We can always verify in Exchange Management Shell if the Migration mailbox is present. If it shows up in the output, it means that it’s present and enabled. The output should be empty.
2. Recreate Migration mailbox with /PrepareAD command
Find the Exchange Server ISO file in your files. If you don’t have it, download Exchange Server ISO from the Microsoft website. After it’s finished downloading, mount the ISO.

Always save the Exchange Server ISO files. Microsoft does not keep the ISO files available online if newer versions are released.
Find to which drive letter the ISO is mounted. In our example, it’s the I: drive.
Start ADUC and make sure that you click the refresh button in the toolbar. If that doesn’t work, close and start ADUC. Verify that the PrepareAD setup created the Migration mailbox in ADUC.
Run Exchange Management Shell as administrator. Run the cmdlet to check if the Migration mailbox shows up. The results are empty, but why is that? That’s because we have to enable the mailbox.
3. Enable Migration mailbox with Exchange Management Shell
Enable Microsoft Exchange Migration mailbox. Run the two cmdlets.
Verify if the Migration mailbox is enabled by running the cmdlet.
The Migration mailbox is recreated and enabled. We can start the migration batch and move mailboxes. This time without the error that a valid migration couldn’t be found. Did it work for you?
Source https://www.alitajran.com/a-valid-migration-mailbox-could-not-be-found-for-this-organization/
Comments
Post a Comment