Source link: https://pelegit.co.il/migrate-public-folder-exchange-2010-to-exchange-2016/
Hello guys, In this post I am going to show you how to migrate Migrate public folder Exchange 2010 to Exchange 2016 which including step by step based Microsoft best practice, this post began due to
the last project that I’ve done of Exchange servers and as part of the project the public folder is one of the steps we should perform in order to complete the project, thereby I would like to share the steps I did over there in this post.
First of all, we have to download the following files in Exchange 2010 and Exchange 2016:
Public Folders Migration Scripts:
https://www.microsoft.com/en-us/download/details.aspx?id=38407
Prepare the migration- Follow my steps:
Let’s get some information about existing or non-existing public folders.
Get-PublicFolder -Recurse | Export-CliXML C:\PFMigration\Legacy_PFStructure.xml
Make sure there is no PF migration job that created history:
Get-OrganizationConfig | Format-List PublicFoldersLockedforMigration, PublicFolderMigrationComplete
Run the following command:
Set-OrganizationConfig -PublicFoldersLockedforMigration $false -PublicFolderMigrationComplete $false
Go to Exchange 2016 and make sure there are no public folders migration requests
Get-PublicFolderMigrationRequest | Get-PublicFolderMigrationRequestStatistics -IncludeReport | Format-List
Remove any existing PF request:
Get-PublicFolderMigrationRequest | Remove-PublicFolderMigrationRequest
Get-Mailbox -PublicFolder
Get-Mailbox -PublicFolder | Where {$_.IsRootPublicFolderMailbox -eq $false} | Remove-Mailbox -PublicFolder -Force -Confirm:$falseGet-Mailbox -PublicFolder | Remove-Mailbox -PublicFolder -Force -Confirm:$false
Go back to Exchange 2010 and start with the migration process, it generates the “name-to-folder”
.\Export-PublicFolderStatistics.ps1 <Folder to size map path> <FQDN of source server>:

.\PublicFolderToMailboxMapGenerator.ps1 <Maximum mailbox size in bytes> <Folder to size map path> <Folder to mailbox map path>:
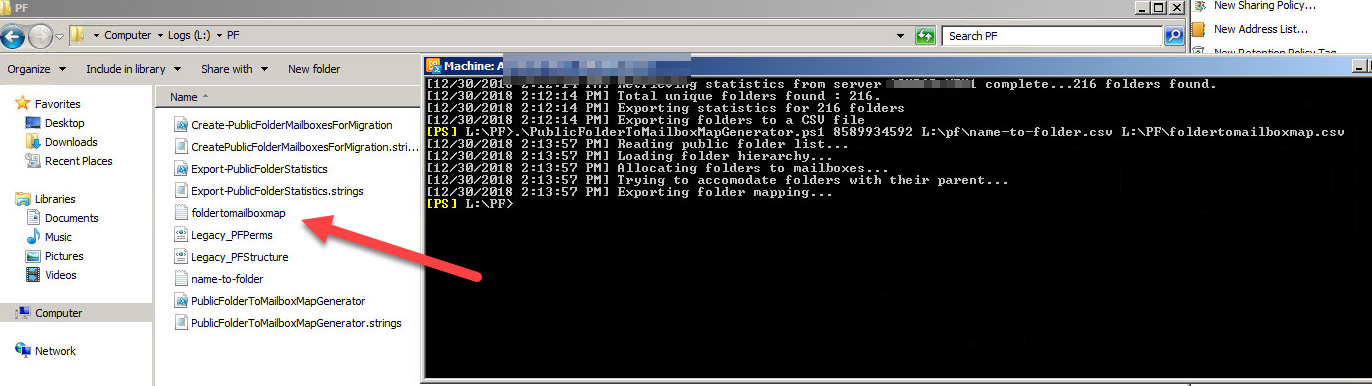
Copy the file “Foldertomailboxmap.csv” to script folder that you downloaded in exchange 2016 (Same like 2010).
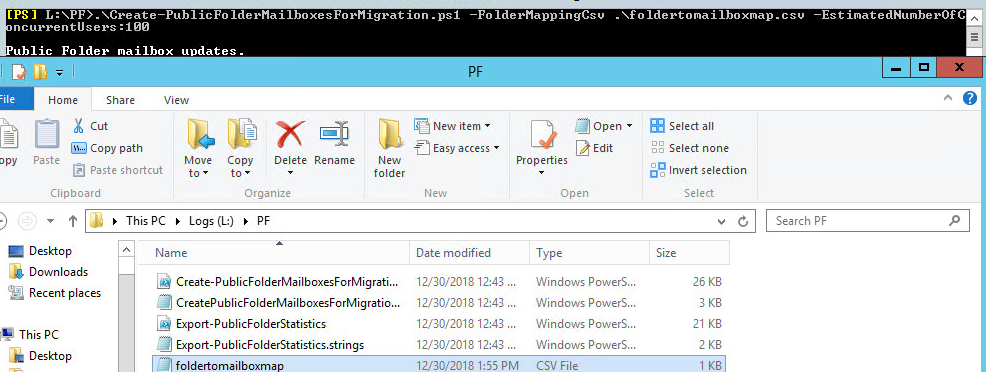
Go to Exchange 2016 and open Exchange Powershell, then, run the following command:
.\Create-PublicFolderMailboxesForMigration.ps1 -FolderMappingCsv Foldertomailboxmap.csv -EstimatedNumberOfConcurrentUsers:<estimate>
Continue with Y:
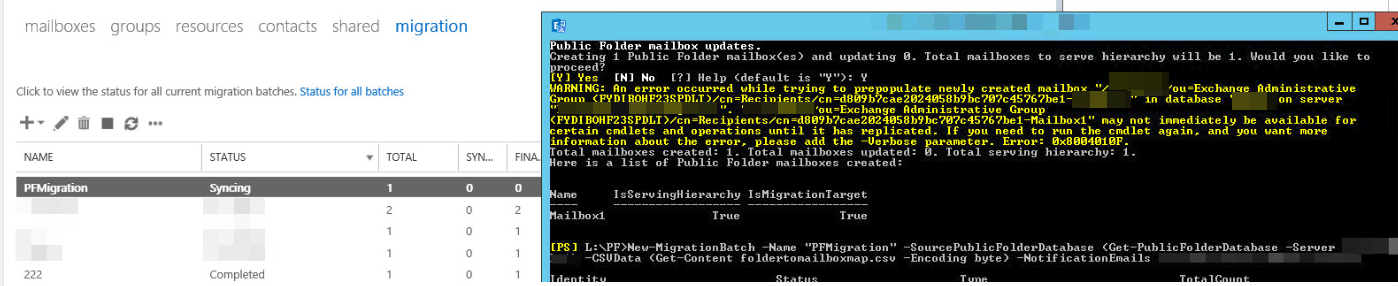
Then, run the following command which starts the batch migration job:
New-MigrationBatch -Name PFMigration -SourcePublicFolderDatabase (Get-PublicFolderDatabase -Server <Source server name>) -CSVData (Get-Content <Folder to mailbox map path> -Encoding Byte) -NotificationEmails <email addresses for migration notifications>
You should start the batch manually by clicking on “Play” icon or running below command:
Start-MigrationBatch "PFMigration"
Once the PF is “Synced” we can like “Logoff” users from the previous public folder by running the following command on Exchange 2010:
Set-OrganizationConfig -PublicFoldersLockedForMigration:$true
Set-OrganizationConfig -PublicFolderMigrationComplete:$true
Go back to Exchange 2016 Powershell windows and finalize the public folder migration using the following command:
Set-OrganizationConfig -PublicFoldersEnabled Remote
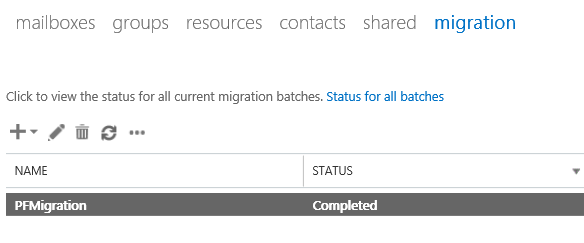
Complete the batch post it’s synced:
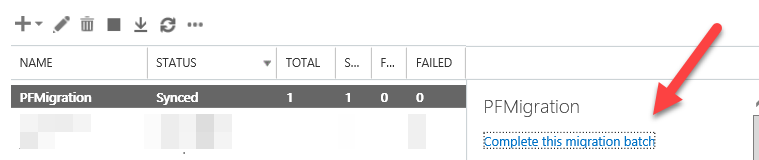
Running the final synchronization between public folders.
If you can’t complete this from here, try to dismount the PF in the source and mount it again.
# Be patient it takes time
My public folder size was 7GB and it lasted for an hour just for completing it:
Then delete the batch.
Once you made sure that everything is playing and running properly you are allowed to remove the PF DB from the old Exchange server, please re-check twice every folder, accessing office version, OWA access, check out the hierarchy, Check permissions, Create and delete public folders, create content to and delete content from a public folder.
And the last command we have to run in Exchange 2016 is:
Set-OrganizationConfig -PublicFoldersEnabled Local
And now you should wait a couple of minutes and then you will be able to see the public folder in the outlook, it should 5-10 minutes do not get stress.
For any question please leave a comment.
Comments
Post a Comment