
LỖI HYPER-V “FAILED TO CHANGE CURRENT STATE”


LỖI “FAILED TO CHANGE CURRENT STATE”
Hôm nay mình có thao tác mount cái disk máy ảo (VHDX) rồi copy và create file trực tiếp trong cái disk ảo đó (mounted-disk)
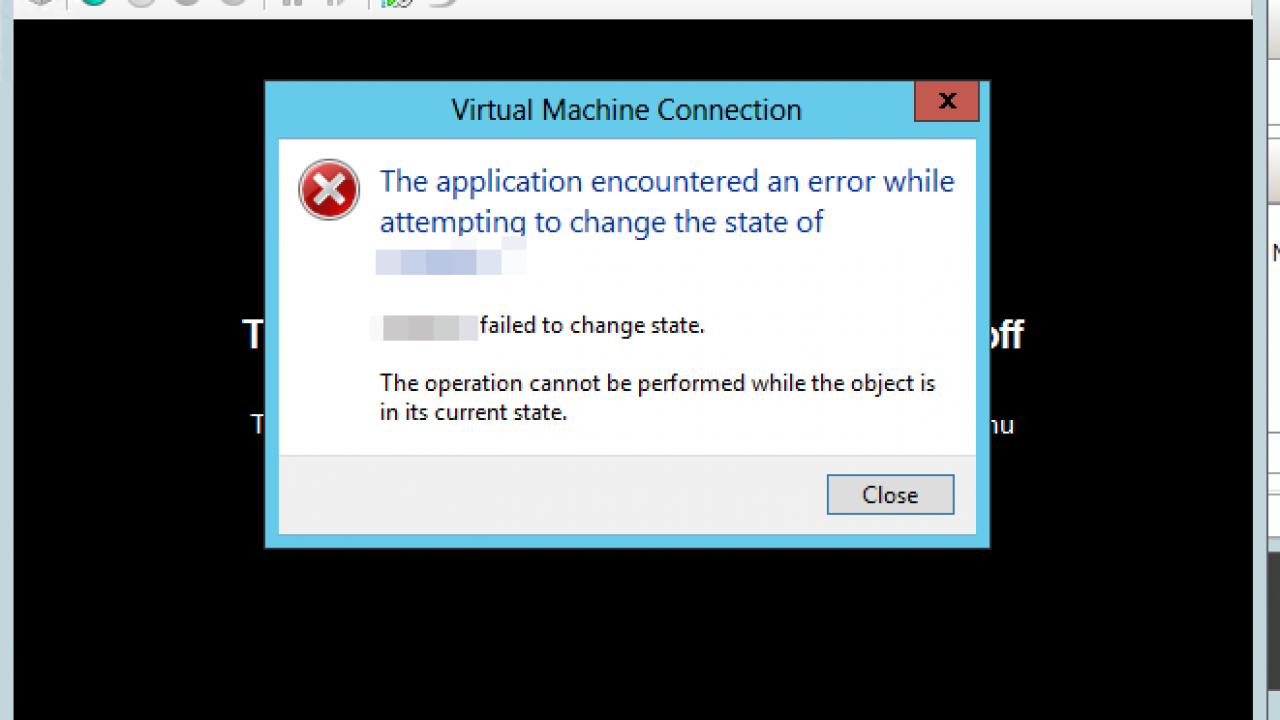
Dẫn đến là sau khi start lại VM thì báo lỗi “Failed to change current state”. Nguyên nhân là do việc copy & tạo file trực tiếp trong mounted-disk làm cho disk không còn đúng trạng thái ban đầu.
Image result for failed to change current state
Máy ảo này có 2 disk: disk 1 làm OS, disk 2 làm Data.Tìm hiểu kỹ hơn bằng tính nằng “Inspect disk” thì phát hiện disk 1 bị lỗi “Property ‘MaxinternalSize’ does not exist in class ‘Msvm_VirtualHardDiskSettingData’.”


Nguyên nhân như đã nói ở trên, nó làm cho các bản Checkpoint (Snapshot) mất link với Disk gốc (Parent disk)
Để khắc phục, chúng ta cần dùng lệnh Set-VHD để link Checkpoint với Parent Disk
·        Cần chạy lệnh với quyền Administrator “Run as administrator
·        set-vhd "D:\Hyper-V-Replica\Virtual Hard Disks\XXX-disk1_66FBC729-1B9D-411E-BF3E-3F704A1343B0.avhdx"-ParentPath "D:\Hyper-V-Replica\Virtual Hard Disks\XXX-disk1_3EC8B1CA-590D-465A-870B-94E745064622.avhdx"
·        Làm tuần tự từng checkpoint, vd: Check3 -> Check2 -> Check1 -> ParentDisk
Nếu gặp lỗi “ID Mismatch” thì thêm “-IgnoreMismatch
Sau khi link toàn bộ checkpoint thành công thì có thể start lại máy VM bình thường


Comments

Popular posts from this blog

[RAID] SWITCH FROM AHCI TO RAID WITH INTEL C600 CONTROLLER

I personally have used other ways to do this. Manipulating some registry settings in combination with a safe boot before booting normally does the trick as well. This works with both SATA SSD and M.2 NVMe drives and it enables relatively fast switching between back and forth between AHCI and RAID. I have described this method below.  I have also tried the same process used to switch from RAD to AHCI and that works as well. Switch to safe boot Reboot into BIOS Change from AHCI to RAID in the BIOS Boot into safe mode Turn off safe mode and reboot normally again Nothing else and that also did the trick, just like with moving from RAID to AHCI.  So the link above and my step by step below is here for completeness. You have options in case one of them doesn’t work! Step by step AHCI to RAID registry method This procedure I describe below works on Windows 10 1803/1809 and has been tested on Dell Latitude E6220 an XPS 13 9360. Editing the registry is...

[Hyper-V] - Lỗi không boot vào được sau khi convert máy vật lý sang máy ảo

XỬ LÝ LỖI KHÔNG BOOT ĐƯỢC VÀO MÁY ẢO SAU KHI CONVERT TỪ MÁY VẬT LÝ BẰNG DISK2VHD Sau khi convert server vật lý sang file VHD để import vào Hyper thì khi start máy ảo lên màn hình máy ảo chỉ nhấp nháy con trỏ chuột trên màn hình đen (blinking cursor) NGUYÊN NHÂN Do máy vật lý sử dụng ổ đĩa cài OS được format theo chuẩn GPT (thay vì MBR như truyền thống, tham khảo GPT và MBR ) XỬ LÝ Bước 1: chuyển ổ GPT thành MBR Copy file VHD của ổ đĩa chứa OS về 1 máy tính Windows 8 trở lên Trên máy Windows 8+ click phải chuột lên file VHD vừa copy, chọn lệnh Mount . Lúc này dùng 1 phần mềm miễn phí (vd: Mini Partition Wizard ) để convert ổ đĩa vừa mount từ GPT  -> MBR Sau đó Delete phần Partition dư ra ở phần đầu ổ đĩa được mount (khoảng vài trăm MB) Set " Active " cho ổ đĩa này để là ổ đĩa boot OS Nhấn Apply để phần mềm thực thi tác vụ Sau khi phần mềm làm xong, tắt phần mềm Mini Partition Wizard, vào My Computer chọn eject ổ đĩa đang mount . Copy file VHD vừa đư...

TẠO DKIM RECORD CHO EXCHANGE SERVER

  Source: https://www.linkedin.com/pulse/how-configure-dkim-exchange-2019-simple-way-seyed-abdollahi Installation In Exchange Online DKIM is a built-in service, but on an on-prem Exchange 2019 deployment we need a 3rd party application to add this functionality to our Exchange infrastructure. In this guide we use Stefan Profanter's excellent dkim-exchange application for this purpose, which is available here:  https://github.com/Pro/dkim-exchange/releases/latest After installing the program, we open  Configuration.DkimSigner.exe and click on the "Install" button, or download the installer straight from https://codeload.github.com/Pro/dkim-exchange/legacy.zip/v*** Configuration After installation finished, open the configurator. C:\Program Files\Exchange DkimSigner\Configuration.DkimSigner.exe Click on the "Configure" button and move the DkimSigner agent to the very bottom of the list. Under the DKIM settings tab select relaxed canonicalization as Exchange t...